How to Install an ADAMANT Node on macOS
0
0
This guide will help you install and run an ADAMANT Messenger blockchain node from scratch on macOS. It includes setting up development tools, PostgreSQL, Node.js, and configuring the node to auto-start after reboot.
Tested on: macOS 13 Ventura and newer
Node type: mainnet or testnet
Time required: ~15–30 minutes
See also:
Preparation
Running an ADAMANT node helps support a fully decentralized, privacy-focused blockchain powering the ADAMANT Messenger. It strengthens the network, gives you direct access to blockchain data, and allows to receive dPoS rewards if you become a validator/delegate.
Prerequisites
- Mac computer with macOS 13 (Ventura) or newer
- User account with administrator privileges
- Stable internet connection
- Around 50 GB of free disk space
- Basic comfort with using Terminal (no prior experience required — we’ll walk you through it)
How to Open Terminal
To run the commands in this guide, you’ll need to use the Terminal app:
- Press Cmd + Space to open Spotlight Search
- Type Terminal, then press Enter
- You’ll see a window with a command prompt like this:
your-mac:~ yourname$
This is where you’ll copy and paste the commands provided in the next sections.
Install Apple Command Line Tools
Apple’s developer tools are required to compile code and use Git.
xcode-select --install
A pop-up will ask you to confirm installation. Accept it. Wait until it’s complete before continuing.
Install Homebrew
Homebrew is a package manager for macOS, used to install PostgreSQL and other dependencies.
/bin/bash -c "$(curl -fsSL https://raw.githubusercontent.com/Homebrew/install/HEAD/install.sh)"
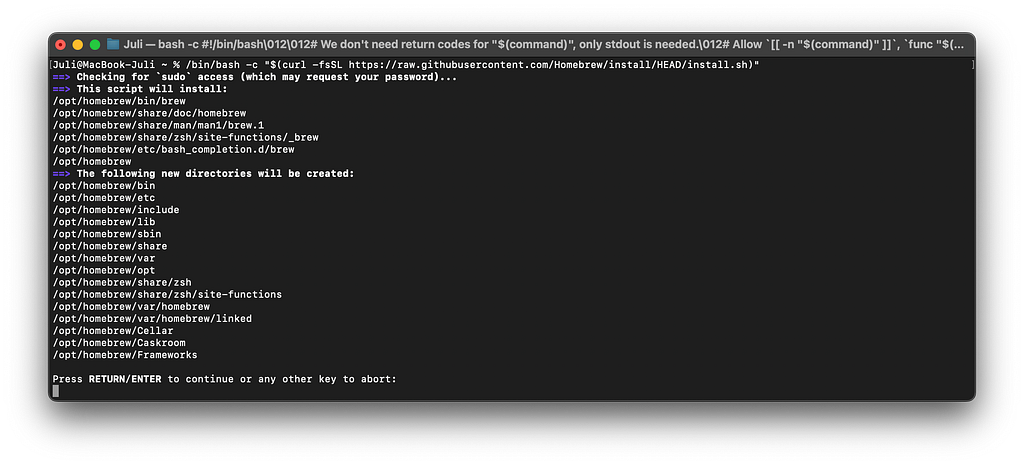
Confirm with Enter key. After installation, follow the instructions it prints in the “Next steps” section (usually to add Homebrew to your shell config like ~/.zprofile or ~/.bash_profile).
Reload your shell:
source ~/.zprofile # or ~/.bash_profile depending on your shell
Install Required Packages
Install PostgreSQL, Redis, Git, and other necessary tools:
brew install postgresql redis git automake autoconf libtool jq htop
Start and enable PostgreSQL and Redis:
brew services start postgresql
brew services start redis
Set Up PostgreSQL Database
Create a PostgreSQL user and database for ADAMANT (run command-by-command):
# Customize these as needed
DB_USER=adamant
DB_NAME=adamant_main
DB_PASSWORD=securepassword

psql postgres -c "CREATE ROLE $DB_USER LOGIN PASSWORD '$DB_PASSWORD';"
psql postgres -c "CREATE DATABASE $DB_NAME OWNER $DB_USER;"
Install NVM and Node.js
Install Node Version Manager (NVM) and the Node.js 22 LTS (codename Jod):
curl -o- https://raw.githubusercontent.com/nvm-sh/nvm/v0.40.3/install.sh | bash
source ~/.nvm/nvm.sh
nvm install 22
Install pm2 (Node.js process manager):
npm install -g pm2
Set up pm2 log rotation (optional but recommended):
pm2 install pm2-logrotate
pm2 set pm2-logrotate:max_size 500M
pm2 set pm2-logrotate:retain 5
pm2 set pm2-logrotate:compress true
pm2 set pm2-logrotate:rotateInterval '0 0 0 1 *'
Clone and Set Up ADAMANT Node
You can install the ADAMANT node anywhere you prefer. For a more organized setup, we’ll use the ~/Applications directory (a personal folder in your home directory—not the system-wide /Applications).
mkdir -p ~/Applications
cd ~/Applications
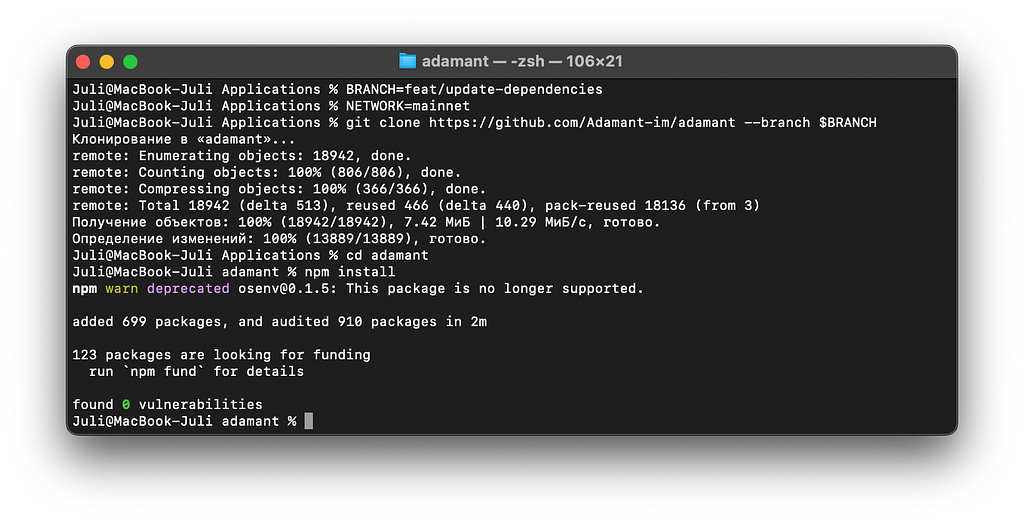
Now clone the ADAMANT repository from GitHub into the selected directory (run command-by-command):
# Customize these as needed
NETWORK=mainnet   # or testnet
BRANCH=master     # or desired Git branch

git clone https://github.com/Adamant-im/adamant --branch $BRANCH
cd adamant
npm install
This creates a folder named adamant with the ADAMANT node software inside your ~/Applications directory, and installs project dependencies:
Next, set the ADM node config file:
cp config.default.json config.json
sed -i '' "s/\"password\": \"password\"/\"password\": \"$DB_PASSWORD\"/" config.json
This will clone default config file into your own, and enter the DB password you’ve set earlier.
You can also edit config manually in nano text editor:
nano config.json
Note, if you want running a testnet node, use these commands instead:
cp test/config.default.json test/config.json
sed -i '' "s/\"password\": \"password\"/\"password\": \"$DB_PASSWORD\"/" test/config.json
Download Blockchain Snapshot (Optional, Mainnet Only)
If you really want to support the decentralization, skip this step.
This speeds up ADAMANT blockchain syncing:
curl -O https://explorer.adamant.im/db_backup.sql.gz
gunzip db_backup.sql.gz
psql $DB_NAME < db_backup.sql
rm db_backup.sql
This step will take up to 20 minutes, but save a week of sync process.
Running ADM node
Finally, you can run the ADAMANT node on your Mac. To ensure everything went smooth, run it temporary right in Terminal:
node app.js
If everything right, you’ll see something like this:
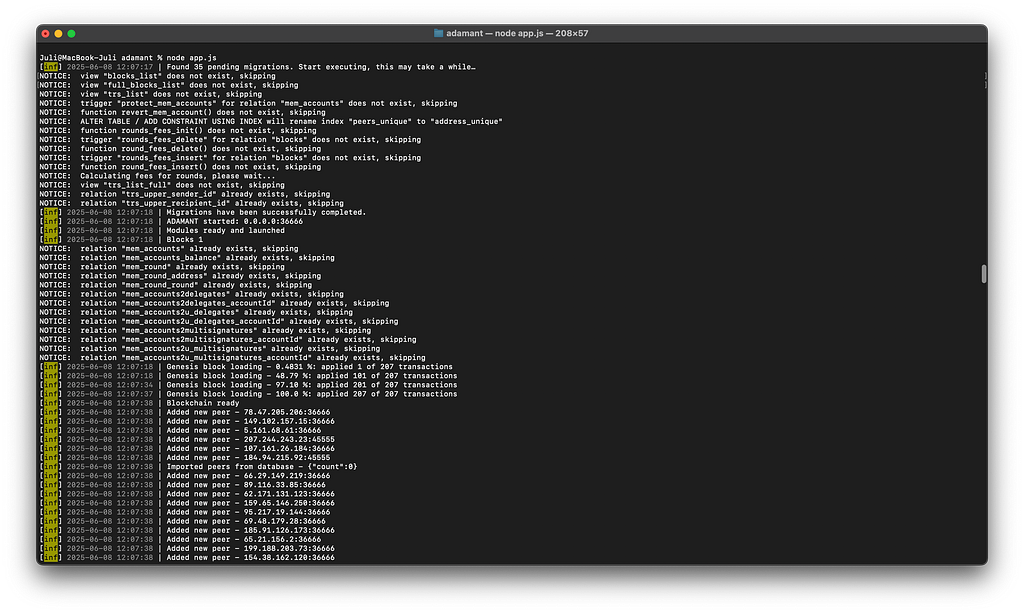
And you’ll notice that blockchain is syncing and node height arises:

Now you can stop running node in Terminal with Ctrl + C command, and start the ADM node with pm2—this will allow it running even when you closes Terminal:
# Mainnet
pm2 start --name adamant app.js

# Or, for testnet
# pm2 start --name adamanttest app.js -- --config test/config.json --genesis test/genesisBlock.json

Save the pm2 process list:
pm2 save
Verify that it’s running well:
pm2 logs adamant

Restart Node After macOS Reboot
This step allows automatically restart ADAMANT node if you reboot your Mac.
Option 1: Manual Start After Reboot
Each time your Mac restarts, run:
source ~/.nvm/nvm.sh
pm2 resurrect
You can automate this by adding the above lines to your shell profile (e.g., ~/.zprofile):
echo 'source ~/.nvm/nvm.sh && pm2 resurrect' >> ~/.zprofile
Option 2: Automatic Startup with pm2 startup
pm2 has a startup command, but it may not work seamlessly with macOS System Integrity Protection (SIP). Instead, you can create a launchd service:
pm2 startup launchd
It will output a command like: sudo env PATH=$PATH:/Users/youruser/.nvm/versions/node/vXX.X.X/bin pm2 startup launchd -u youruser — hp /Users/youruser. Run it in Terminal.
Then save pm2 process list:
pm2 save
pm2 will now restart your ADAMANT node automatically on boot. If you want to cancel it some time later, run: pm2 unstartup launchd.
Verify Installation
Check status:
pm2 show adamant
Check node block height:
curl https://localhost:36666/api/blocks/getHeight
Get node status:
curl https://localhost:36666/api/node/status
You’ll see: {“success”:true,”nodeTimestamp”:245014273,”loader”:{“loaded”:true,”now”:3631,”syncing”:true,”consensus”:0,”blocks”:47102906,”blocksCount”:0},”network”:{“broadhash”:”bd330166898377fb28743ceef5e43a5d9d0a3efd9b3451fb7bc53530bb0a6d64",”epoch”:”2017–09–02T17:00:00.000Z”,”height”:46966,”fee”:50000000,”milestone”:0,”nethash”:”bd330166898377fb28743ceef5e43a5d9d0a3efd9b3451fb7bc53530bb0a6d64",”reward”:0,”supply”:9800000000000000},”version”:{“build”:””,”commit”:”44ebedfa7714aaa817628dba40208a62f428259f”,”version”:”0.9.0"},”wsClient”:{“enabled”:true,”port”:36668}}
The “syncing”:true means that your node is not yet synced, wait for full blockchain synchronization. If you’ve chosen using Blockchain Snapshot, it will be much faster to finish.
🎉 You’re Done!
You’ve successfully installed and configured an ADAMANT node on your macOS system. Thank you for supporting decentralized messaging!
Read further:
How to Install an ADAMANT Node on macOS was originally published in ADAMANT on Medium, where people are continuing the conversation by highlighting and responding to this story.
0
0
 Verwalten Sie alle Ihre Kryptowährungen, NFTs und DeFi an einem Ort
Verbinden Sie sicher das Portfolio, das Sie zu Beginn verwenden möchten.